There is a moment, somewhere between 4,000 and 5,000 metres, when the air stops feeling like air. It becomes something you carry, something you count. You take a step and pause. You take two and breathe like you just ran a sprint. The Himalayas don’t reveal themselves — they test whether you’re still paying attention.
This is the Annapurna Circuit. A 230-kilometre loop around one of the tallest massifs on Earth, across seventeen of the world’s most punishing days. I did it in 2022 with one camera, one lens, one notebook — and more questions than answers. Here’s what I photographed, what I learned, and what I’d tell anyone thinking about going.
The Annapurna Circuit in brief
The Annapurna Circuit Trek is a high-altitude loop in central Nepal that crosses Thorong La Pass (5,416 m) — the highest point most trekkers will ever stand on. The complete route takes 12–20 days and passes through five distinct climate zones, from subtropical forest to high alpine desert.
- Distance: ~230 km (depending on start/end point)
- Max altitude: 5,416 m (Thorong La Pass)
- Duration: 12–20 days
- Best seasons: March–May and September–November
- Permits needed: ACAP + TIMS
When to go: the two windows that matter
Nepal has exactly two good trekking seasons, and the difference between them is less about weather and more about light.
Spring (March–May) brings rhododendrons in bloom — entire hillsides turning crimson and pink. Days are mild, skies are clearer than autumn at lower altitudes. The downside: haze builds up by mid-morning, so you want to shoot early.
Autumn (September–November) is the classic season. Post-monsoon air is the cleanest of the year. Mountains appear carved against the sky. Nights are colder — sleeping bags rated to −10°C are not overkill at Thorong Phedi.
Go in October. Shoot before 10am. Take the detour to Tilicho Lake. You’ll thank me on day nine.
Day-by-day overview
There’s no «right» itinerary — but here’s the one that worked for me, with the best photographic light.
- Days 1–3: Besisahar → Chame. Jeep for the first stretch; the walk starts around 1,600 m. Warm, humid, forested.
- Days 4–5: Chame → Manang (3,540 m). First acclimatization days. The landscape begins to open.
- Day 6: Acclimatization — walk up to Ice Lake or Gangapurna Lake. This day saves you on the pass.
- Days 7–8: Manang → Yak Kharka → Thorong Phedi (4,500 m). Altitude starts to bite.
- Day 9: Thorong La Pass (5,416 m) → Muktinath. Leave at 3am. You’ll want that light.
- Days 10–14: Descent through Mustang valley to Jomsom. Entirely different landscape — desert, wind, colour.

What I carried (and what I’d leave behind)
I’m a light traveller by nature. On the circuit, that becomes a survival strategy — not a virtue. Every gram matters above 4,000 m.
Camera: One Nikon DSLR, one 18–55mm lens. No zoom, no spare. Batteries in the sleeping bag at night (cold kills them). Extra memory cards taped inside my passport.
Clothing: Layered merino wool. A hard shell. One pair of down gloves for the pass. No jeans, no cotton — they stay wet and freeze.
Gear that saved me: trekking poles (knees thank you on descent), SteriPen for water, a silk sleeping bag liner, Diamox for altitude (ask your doctor).
The human side: tea houses and trail culture
There are no hotels on the circuit. You sleep in tea houses — family-run lodges where a bed costs 200–500 rupees and the unwritten rule is that you eat dinner where you sleep. The menus are nearly identical across the trail: dal bhat, momo, fried noodles. The dal bhat refill is free. You will eat a lot of dal bhat.
Evenings gather around a wood stove in the dining room. Trekkers from ten countries, porters drying socks, the owner’s kids doing homework. This is the part nobody writes about. It’s the best part.
Photography tips for high altitude
- Shoot early: cleanest air is 5–9am. Haze builds by 11.
- Protect batteries: keep them in an inside pocket against your body. Cold drops capacity 30–50%.
- Polarizer: makes the sky ridiculous above 4,000 m. Don’t over-rotate.
- Foreground matters: mountains alone look smaller than they are. A prayer flag, a stone cairn, a porter on the trail — scale is everything.
- Shoot RAW: you will want to recover shadows and tame snow highlights later.
Practical info box
📍 Start point: Besisahar (7 h bus from Kathmandu)
🏔️ Max altitude: 5,416 m (Thorong La Pass)
📅 Best months: October & April
💰 Budget: 25–35 €/day in tea houses (dal bhat, bed, warm water)
📝 Permits: ACAP (3,000 NPR) + TIMS (2,000 NPR), obtained in Kathmandu
👟 Training: 3 months of hills with 10 kg before you fly
Book Nepal tours & experiences
Most trekkers fly into Kathmandu and rush to the trail. These extra days are worth it:
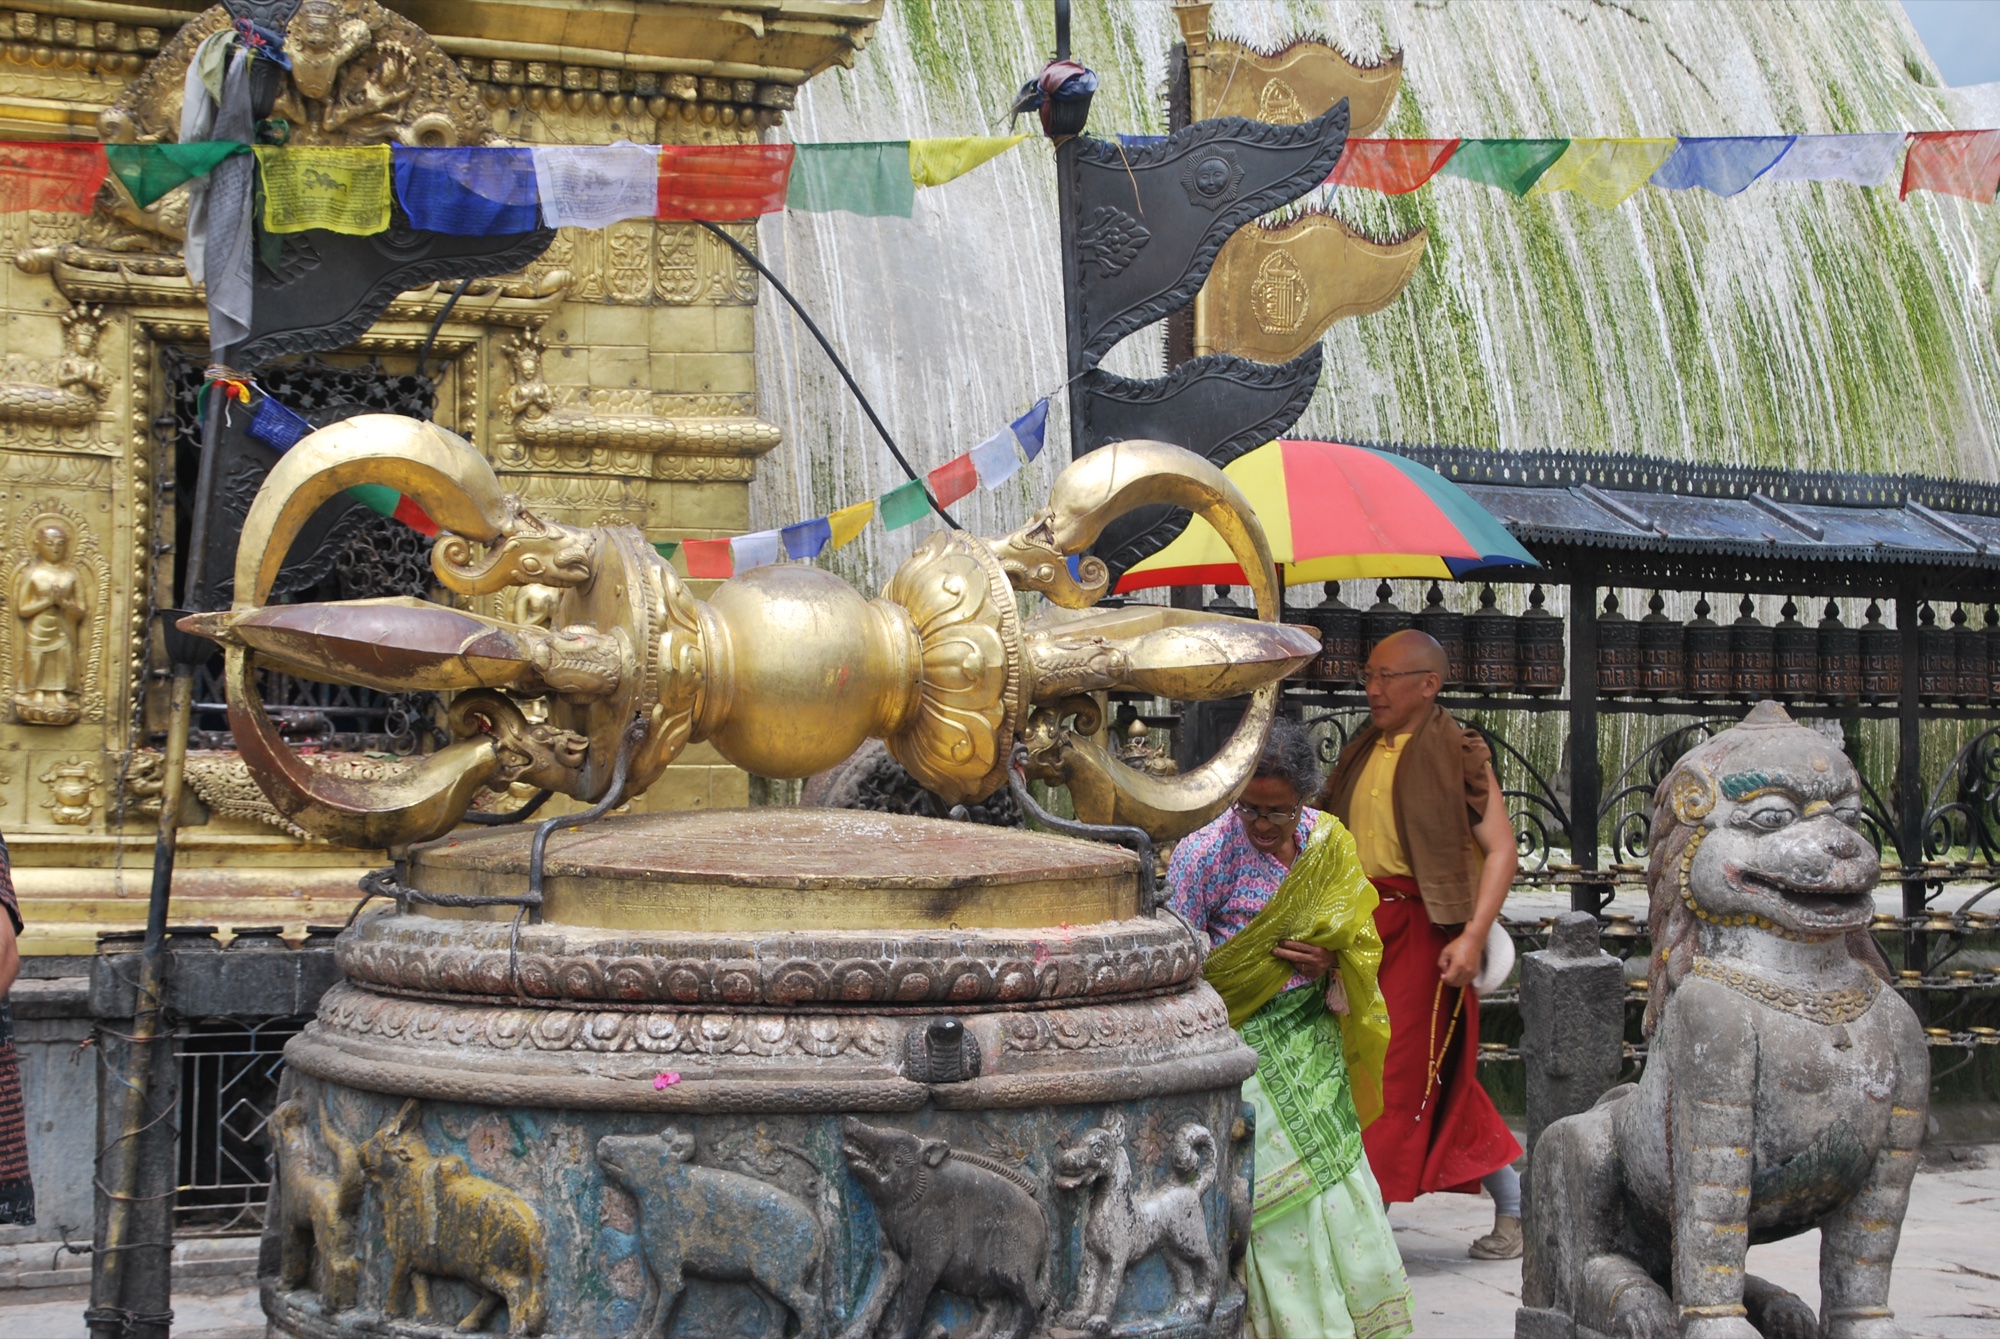
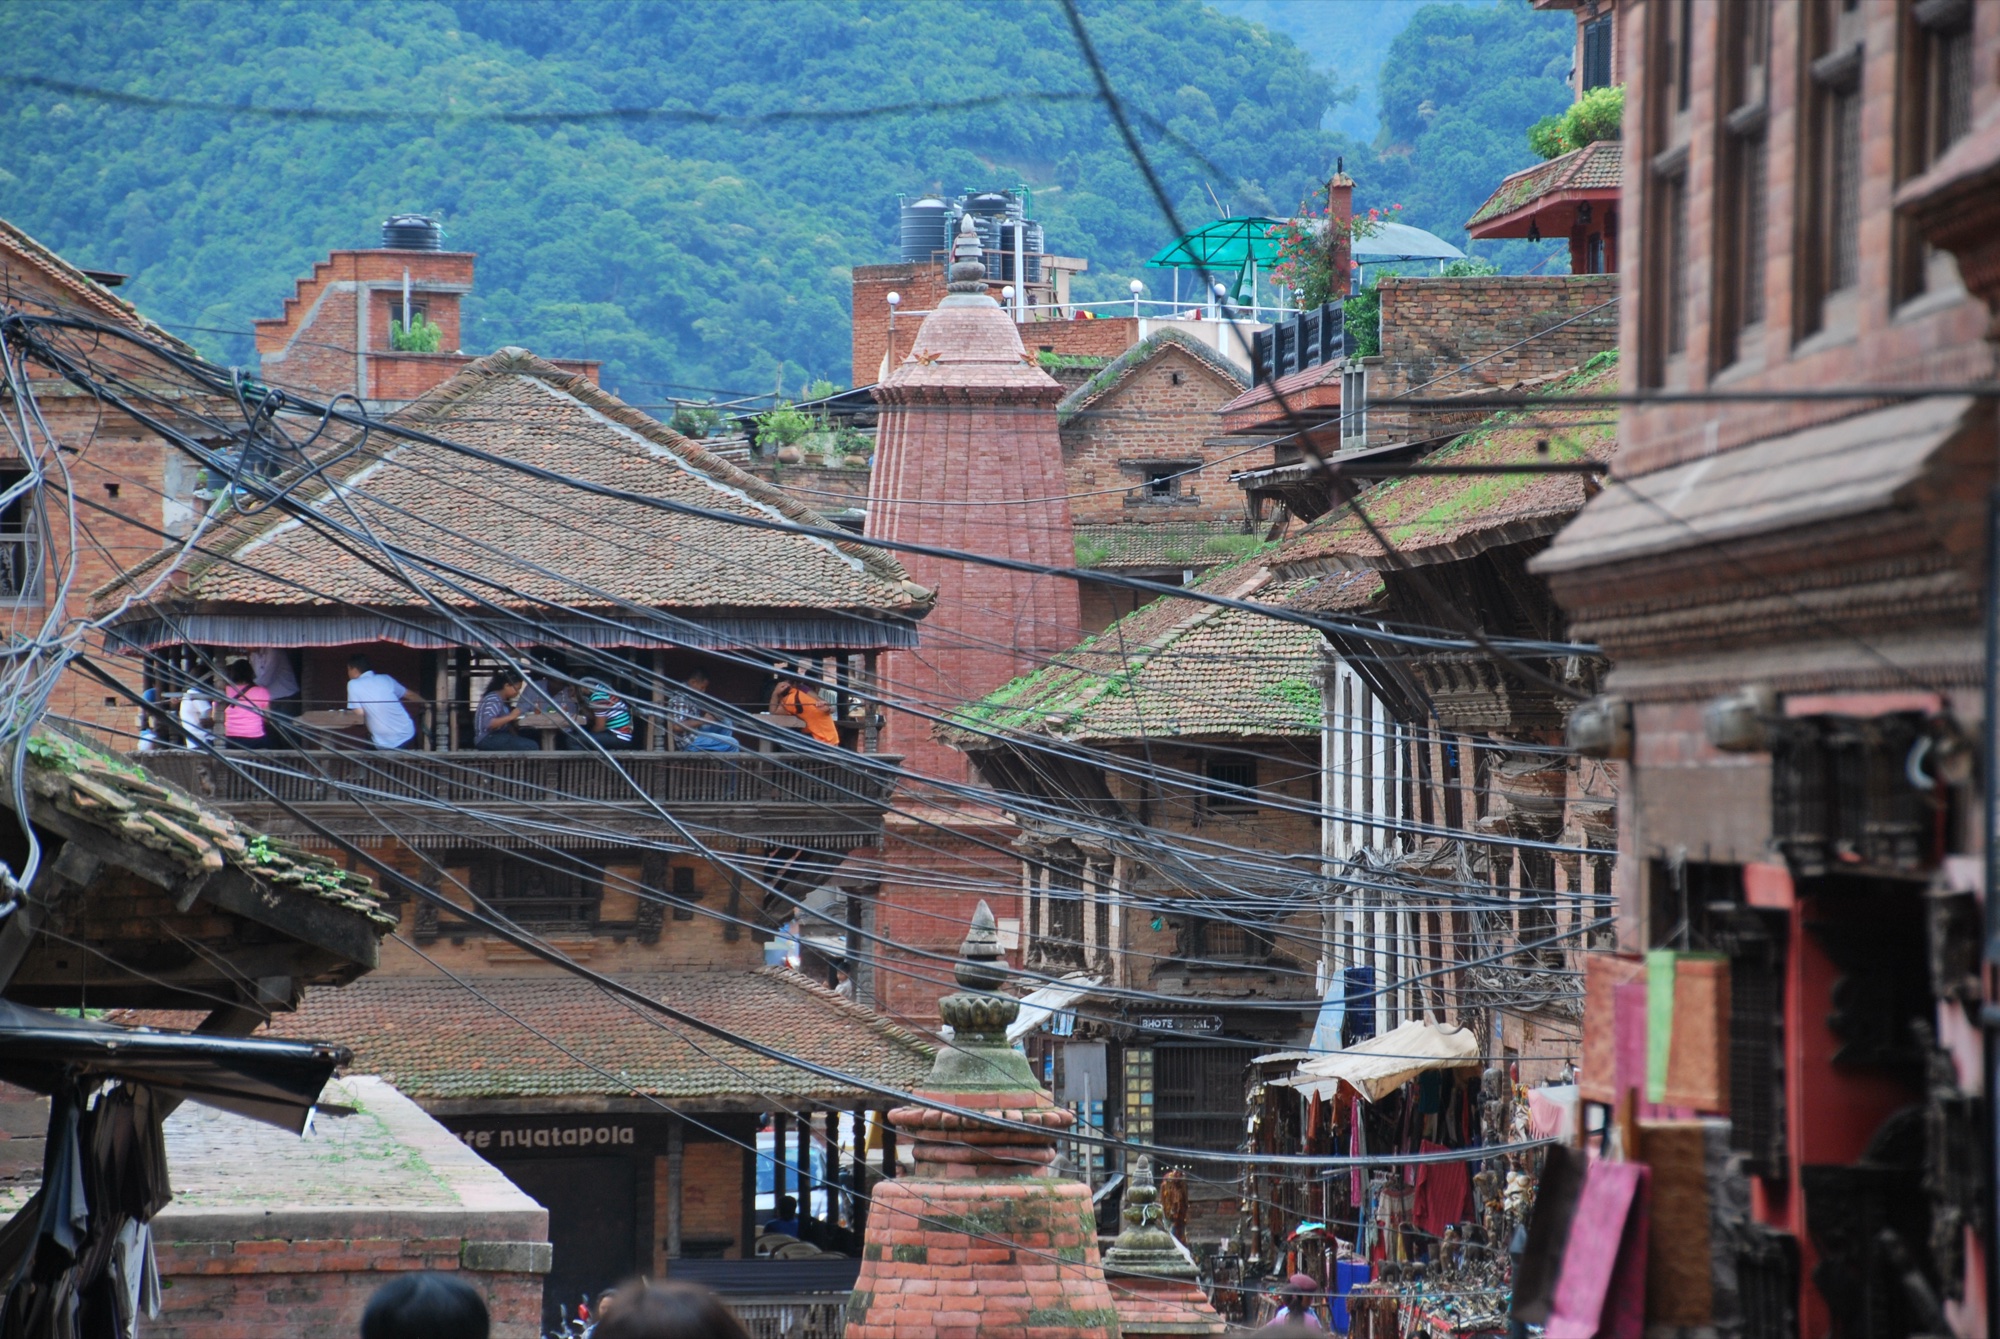
- Kathmandu cultural tours — Boudhanath, Swayambhunath, Pashupatinath at dawn
- Pokhara lake & viewpoint tours — Phewa Lake reflection shots and Sarangkot sunrise
- Full Nepal experiences — jungle safaris in Chitwan, cultural villages, guided treks
Photography kit for high-altitude trekking
Weight matters above 4,000 m. This is what I’d carry, and what I’d leave behind:
- Lightweight travel tripod: essential for dawn shots at altitude — ultralight tripods →
- 18–55mm kit lens: I shot the entire circuit on this — versatile enough for portraits, landscapes, and prayer flags — standard zoom lenses →
- Spare batteries × 3: cold kills battery life fast above 4,500 m — camera spare batteries →
- Dry bag for your camera: river crossings and snow flurries happen — waterproof dry bags →
Tours recomendados en Nepal
Si quieres dejar la organización a alguien más — o complementar la ruta con tours guiados en español — estos son los de Civitatis que recomiendo personalmente. Enlaces afiliados: Bidaiatzen recibe una pequeña comisión sin coste extra para ti.
- Trek Annapurna Circuit 17 días (guía)
- Vuelo panorámico al Everest
- Tour Valle de Katmandú
- Safari en Chitwan
Final thoughts
The Annapurna Circuit is not the hardest trek in Nepal. It’s not even the most spectacular — Everest Base Camp has more fame, Mustang has more colour, Manaslu has fewer people. But it is, for my money, the most human. You walk through agriculture, through Buddhism, through weather systems, through your own limits. You come back a slightly different person than the one who flew in.
If you’re thinking about it, go. Take fewer things than you think you need. Leave the drone at home. And budget an extra day in Pokhara at the end — you’ll want to do nothing for a while.
All photos shot on a Nikon DSLR with an 18–55mm lens. No stock, no AI, no filters beyond basic exposure and contrast. Follow @vidaiatzen on Instagram for more documentary travel photography.
